Exercise
Using fast shutter speeds, try to isolate a frozen moment of time in a moving subject. Depending on the available light you may have to select a high ISO to avoid visible blur in the photograph.
Setup
I decided to capture the bursting of a water balloon. Before I could even attempt this, I needed to research and master some new technical techniques – specifically around the area of how to achieve very high shutter speeds and use flash at the same time.
My research and learning in this area can be found here.
I am not going to repeat the full explanation of the research point however to confirm, I chose to make use of the a very short flash duration to control the duration of the image capture rather than the camera shutter itself. This also relies on shooting in low light conditions so that ambient light is not captured at all, only that created by the flash.
Layout
The physical layout of my equipment is shown in Figure 1 below.
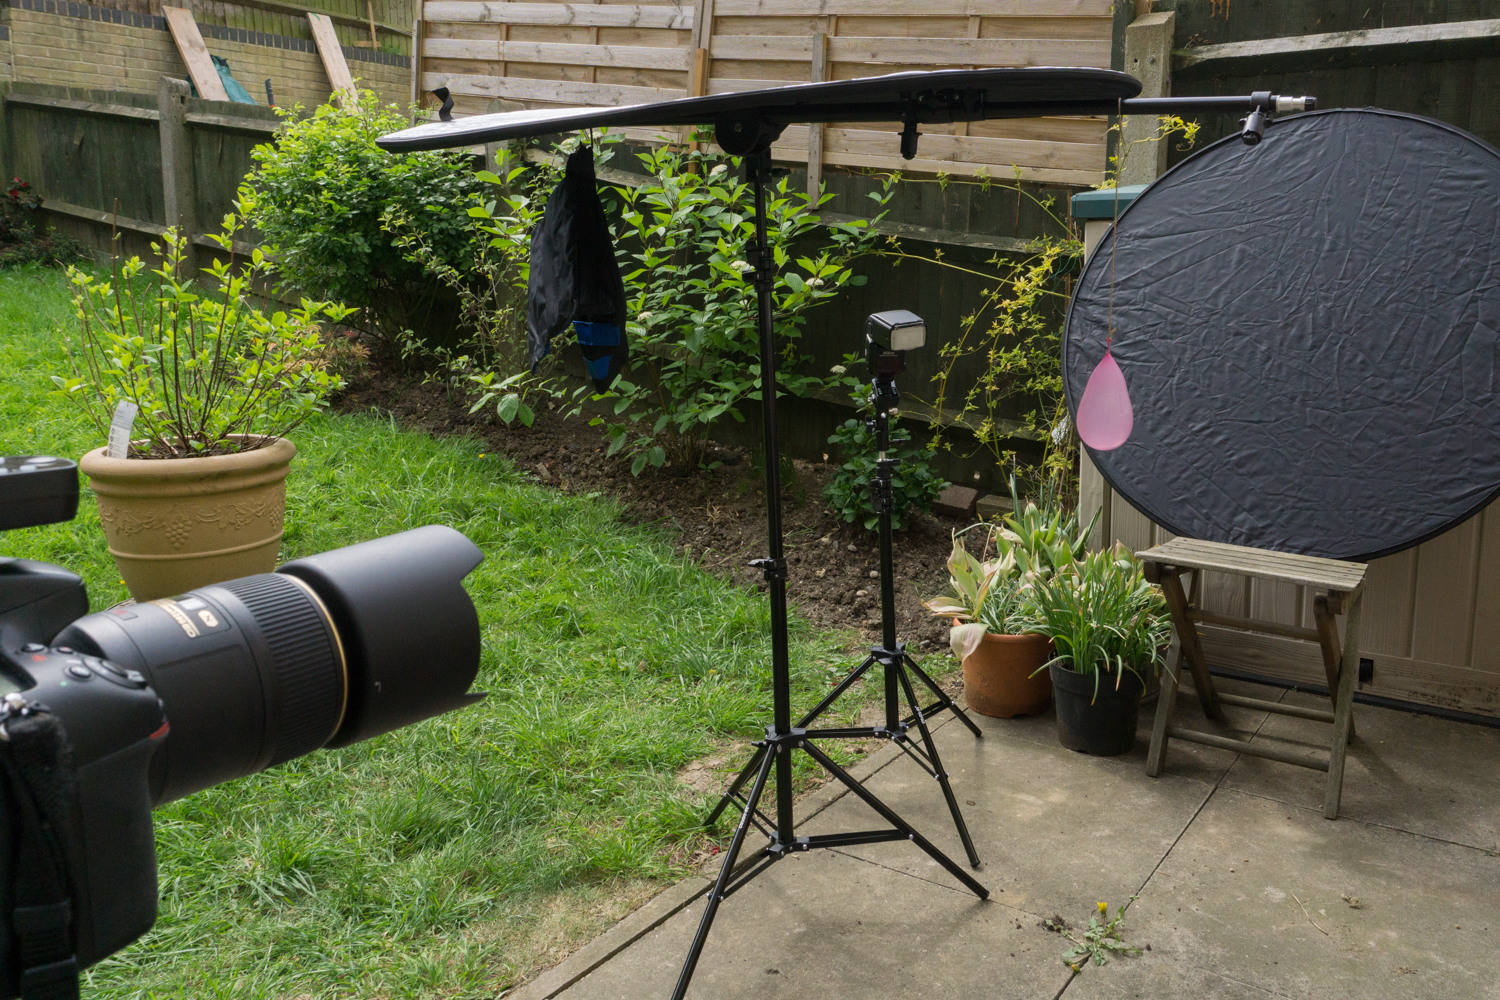
Key points of the layout:
- My camera was mounted on a tripod so that it was completely stationary
- The balloon is suspended on string at a distance from the camera so that it fills the fame nicely. I created many lengths of string at the same length so that the balloon would always hang in the same place.
- The flash is positioned to the side of the balloon facing backwards (towards) the camera. It is aimed directly at the balloon – not into the camera lens.
- At the rear is a reflector with the black side facing to the camera in order to provide a solid black background.
- The reflector that is balanced on top of the balloon supporting arm was removed for the actual shoot.
- Radio triggers are used to fire the flash
- A remote trigger was used to fire the camera so that I could be close to the balloon to burst it and to avoid shaking the camera.
It is worth noting that this shot is taken during the day so that the layout can be seen. The actual balloon shots were taken at night as is necessary for the technique (unless shooting in a dark room).
Camera Setup
I made the following choices:
- I used a 105mm lens to achieve maximum sharpness and to be a reasonable distance from the balloon.
- I set the shutter speed to 1/250th Second to ensure that the shutter would be fully open when the flash fires
- I chose an aperture setting of f9 so that there would be a reasonable depth of field given the long focal length.
- To begin I held ISO at 100 but was prepared to increase this if I needed to brighten the image (remembering that increasing flash power is not possible as that lengthens the exposure).
- I set the flash to 1/32 power to begin with.
Results
I started with two test shots.
The first shot, with no flash is shown in Figure 2.

The shot is fully black. My back garden is not completely dark but with the camera settings above, the image is black. This is a success as it means that only the duration of the flash will create an image and it is the flash that is controlling the effective exposure length.
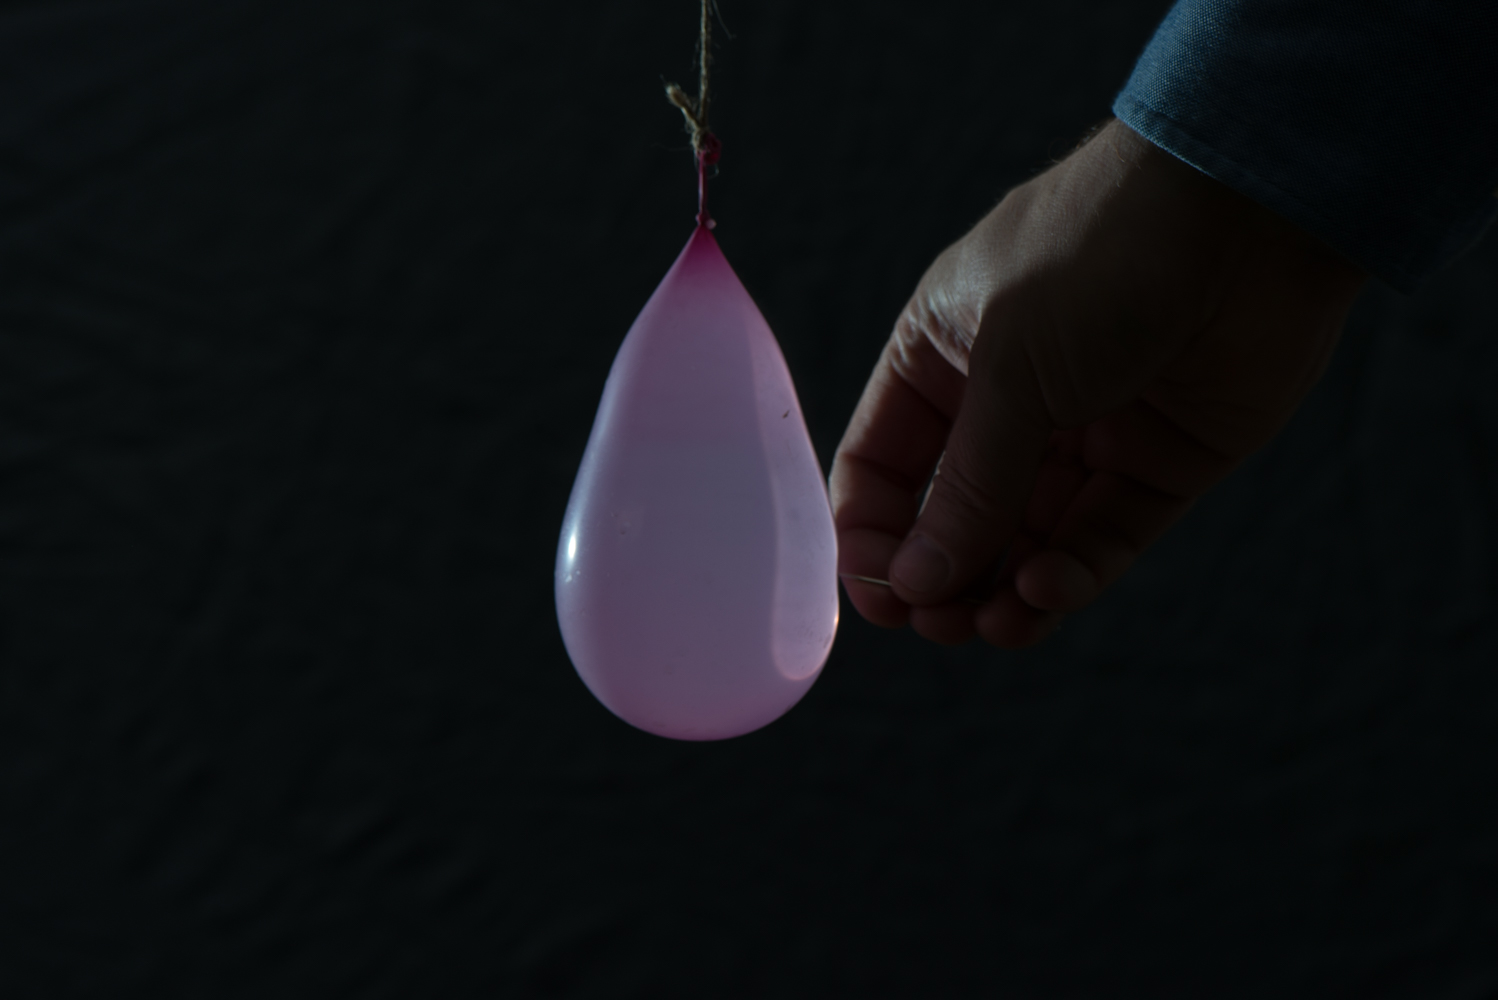
Figure 3 is a positioning shot to show where the balloon will be when the flash fires. The image shows some lighting on the right of the balloon. I found that it was necessary to add a second flash slightly forward of the balloon and to the right, facing away from the camera. This was also triggered with a radio flash in sync with the first flash.
I had a few shots practicing where I missed the bursting of the balloon and so a few shots that looked like Figure 4 and 5. Figure 4 is especially interesting as it is possible to see that the needle has started to push the side of the balloon in but it has not yet burst – something that would be hard to do in real time!

In Figure 6 I have my timing right but very close inspection of the image reveals that the water is slightly blurred. I was shooting at 1/32 power which means that the duration was 1/20,000th second but this was not fast enough. Although it takes close inspection to see, when compared to the selected images where I have corrected this problem, the difference is stark.
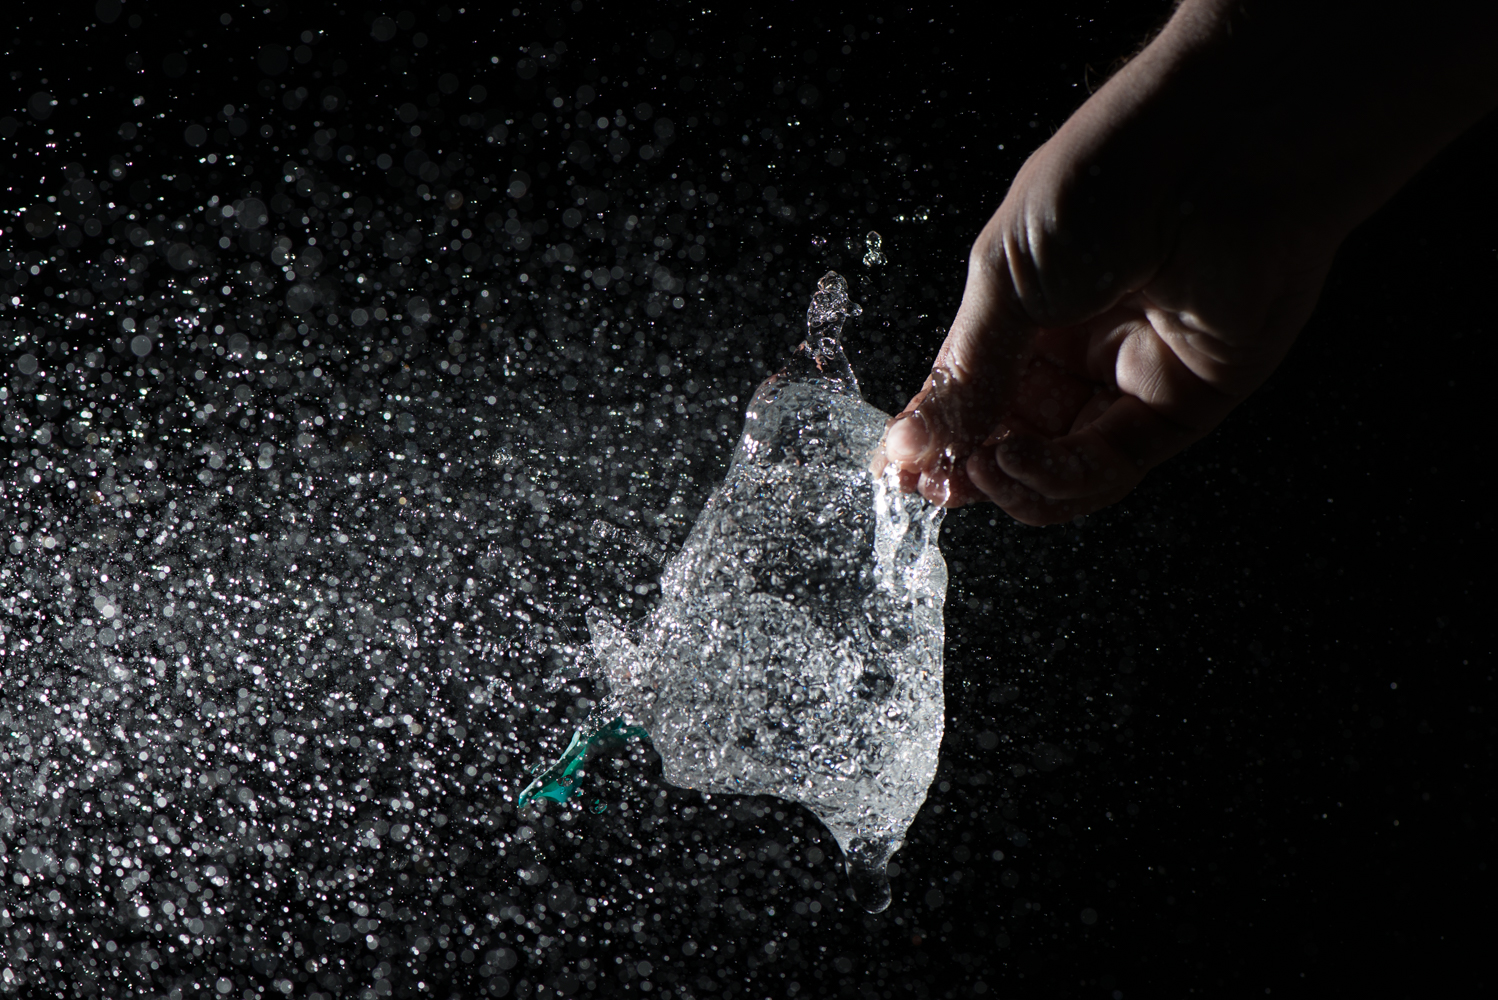
I adjusted the rear flash to 1/64th power (1/35700th second) and the front flash to 1/128th power (1/38500th sec).
Selected Images
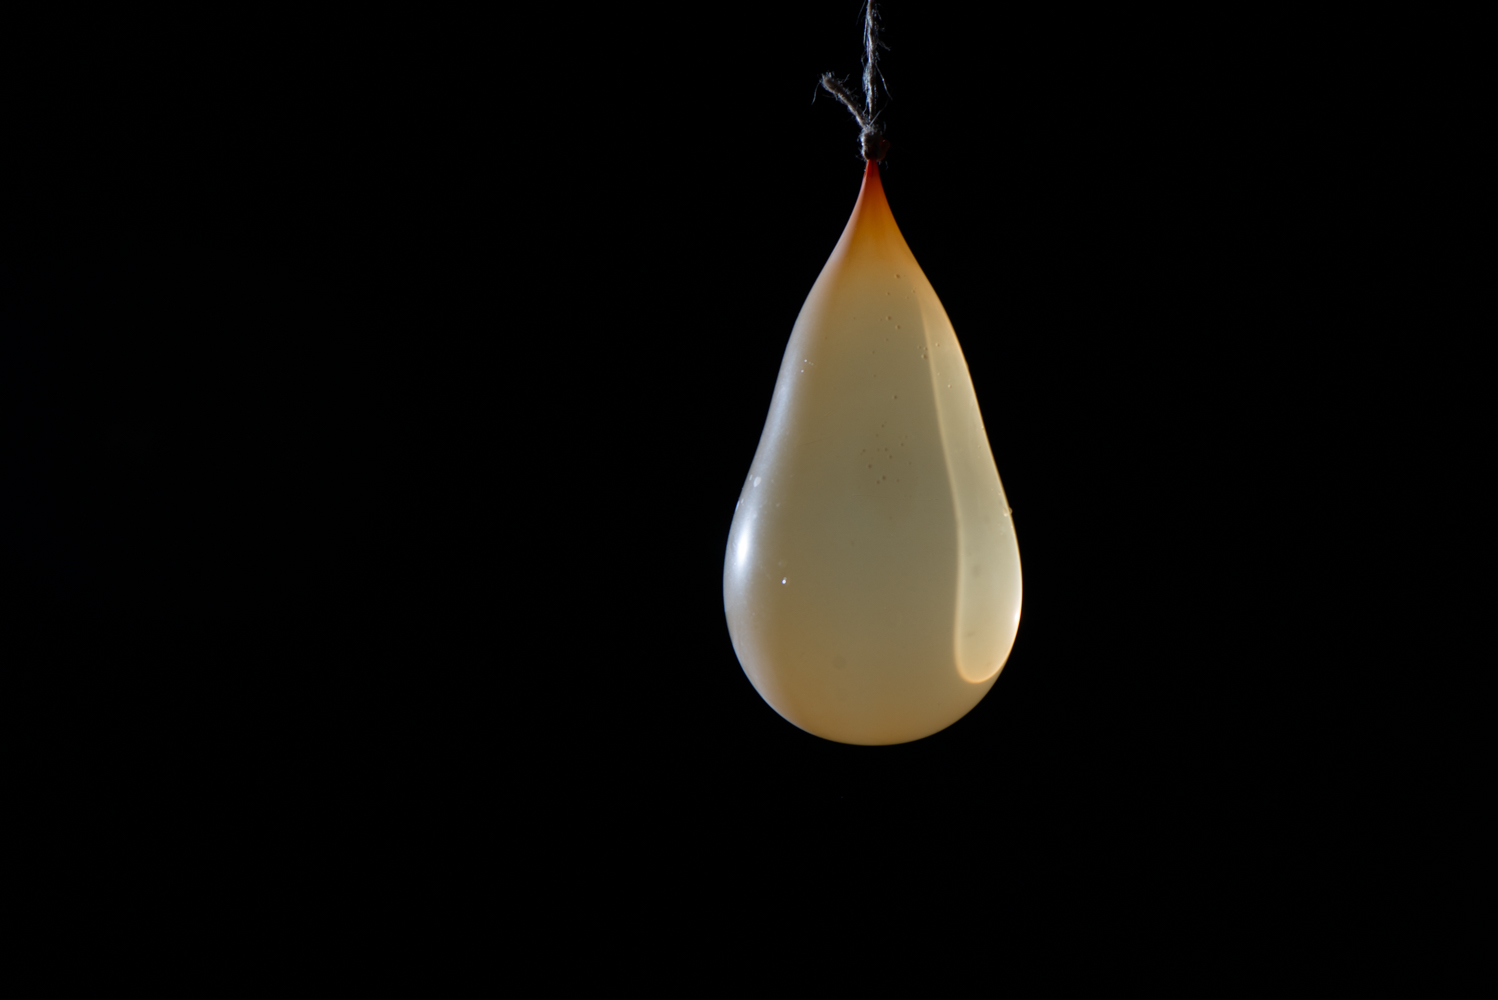
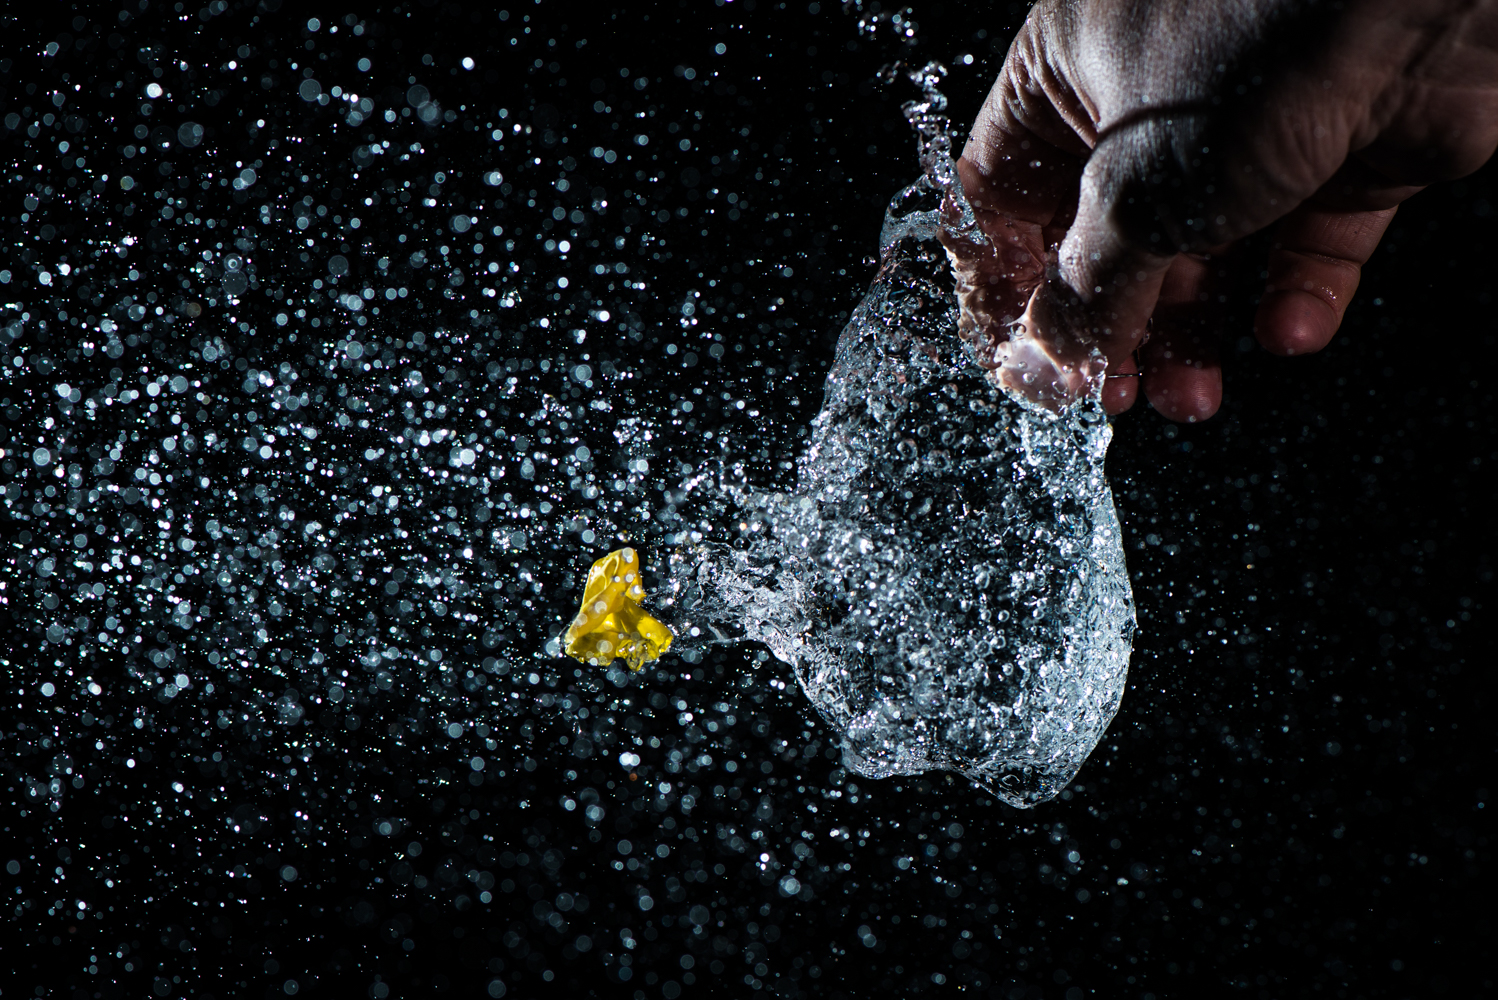
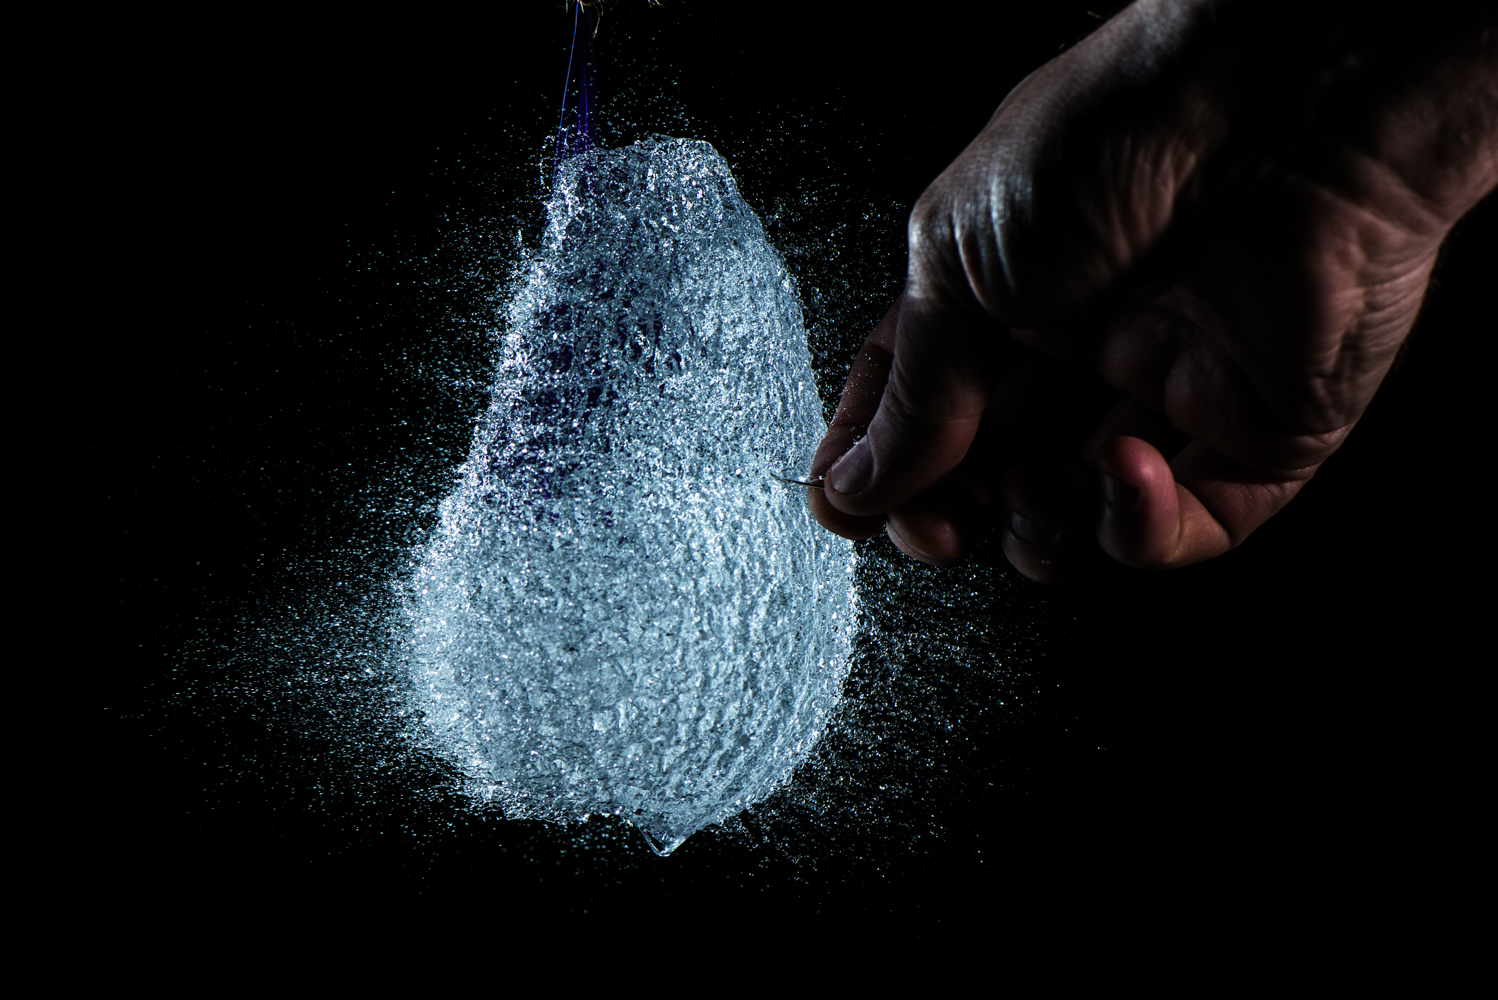
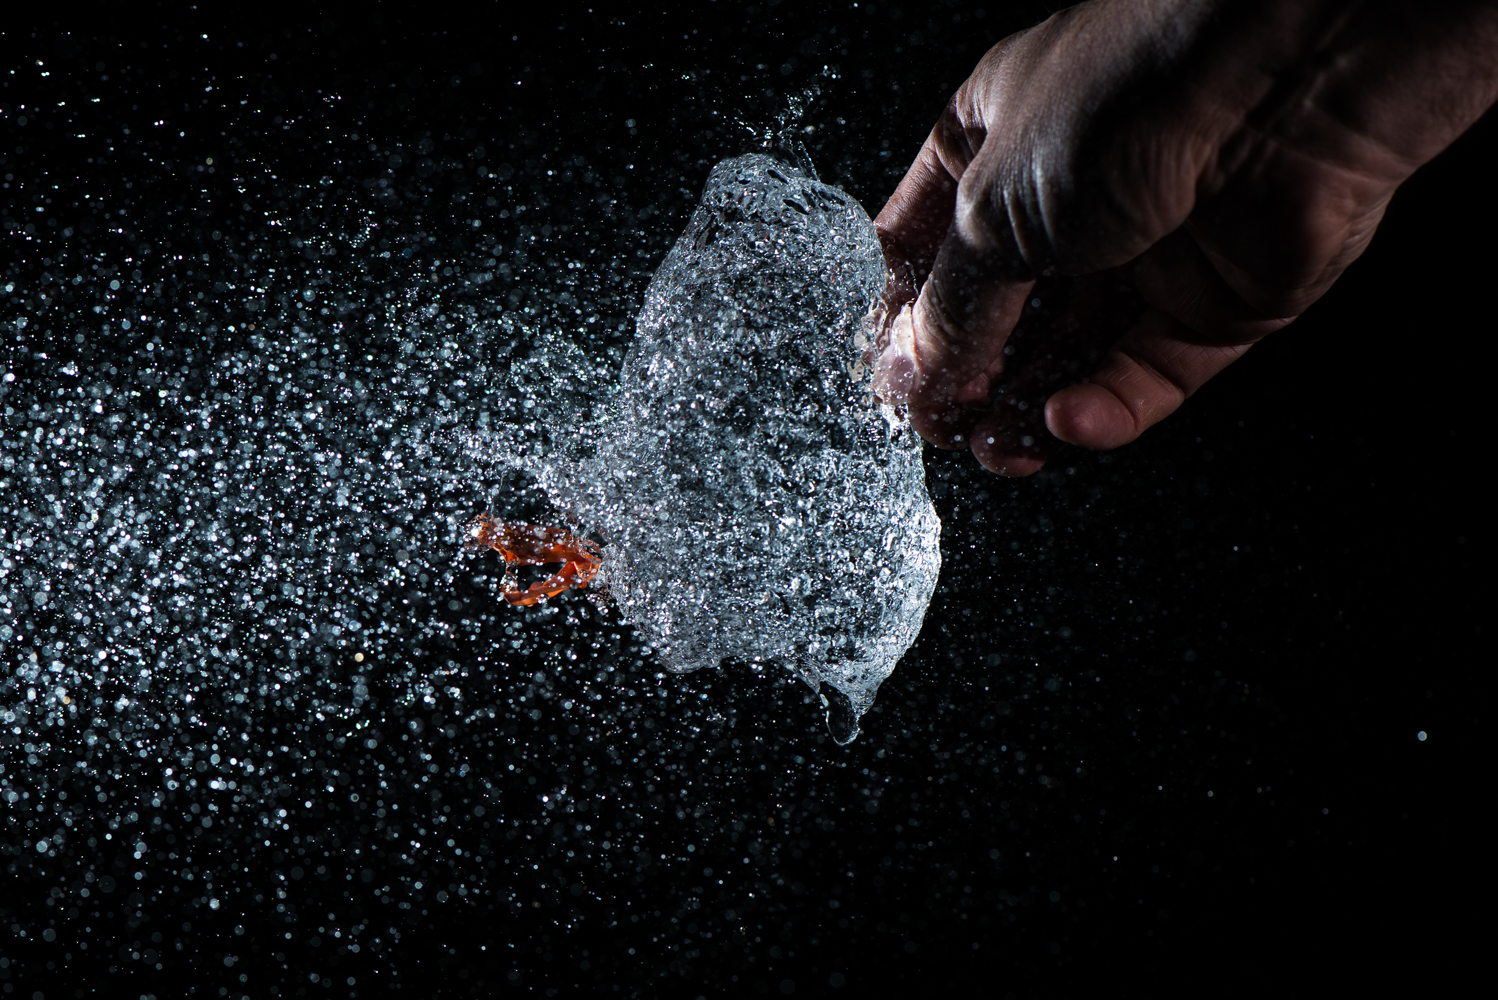
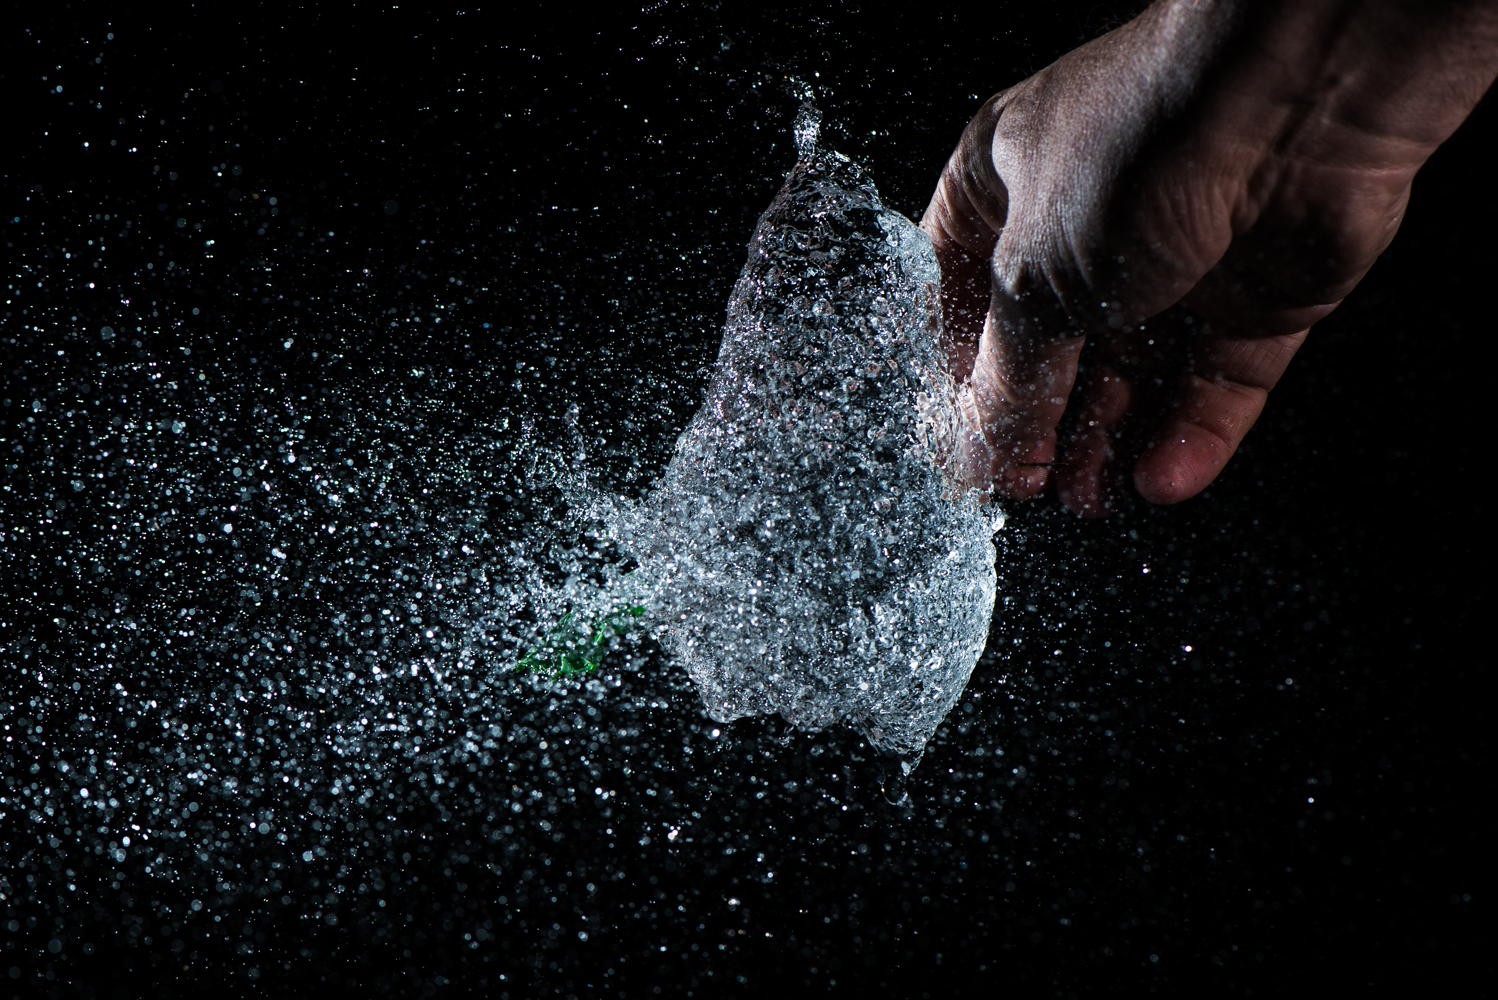
Post making these changes, the images captured were nice and sharp. My selected images are shown below. Image 2 is my favourite as I seem to have captured the very moment that the rubber of the balloon has disappeared but the water has not yet had time to react to this. The shape of the water resembles a pear and is noticeable enough to make one stop and evaluate the image for a longer period.
What I have Learned
My key learning points from this exercise are:
- Flash can be used to shorten the effective exposure time if shots are taken in low ambient light
- Reducing power in a flash shortens the flash duration not the brightness
- It is possible to synchronise hand coordination to capture an image as it happens – a very finite decisive moment.
- Attention to detail can make a significant difference. Figure 6 without close inspection could have been considered the perfect shot, but is blurred when inspected closely. The images that correct this are significantly more dramatic in their appreance.
Overall I am happy with my final images and feel that I have learnt a new technical skill. I am fascinated by the shape of Image 2 as it is not something that I would have expected and it has only been possible to view this using this technique.